I get the same question every September, usually from someone standing at the edge of their pool with a jug of shock in one hand and no real plan in the other: where do I even start?
That’s not bad luck. That’s a sequencing problem, and it’s fixable.
The closings I see turn into expensive spring repairs almost always skipped one of two things: balancing the water before shocking it, or fully blowing out the plumbing. Everything else here matters, but those two are where the real money goes when they’re missed.
How do you close and winterize a pool?
Quick answer: Close a pool in this order: (1) deep clean and balance the water first, TA 80-120 ppm, pH 7.2-7.6, calcium hardness 200-400 ppm, (2) add a winterizing shock dose and algaecide, (3) clean and store or winterize the filter and pump, (4) lower the water level below the skimmer, (5) blow out and plug all lines, (6) add antifreeze to lines that can’t be fully drained, (7) install the winter cover. Above-ground pools skip the plumbing blowout step but still need the water level dropped and the cover secured. Most closings take 2-4 hours for an inground pool and 1-2 hours for above-ground.
Step 1: Balance the Water Before You Do Anything Else
This is the mistake that’s invisible until spring. Water that sits all winter at the wrong pH or alkalinity will scale your equipment, etch plaster, or corrode metal fittings, and none of that damage announces itself until you pull the cover off five months later.
Target these ranges before closing:
- Total alkalinity: Target at Closing: 80-120 ppm; Why It Matters Over Winter: Keeps pH from drifting wildly over months of no attention
- pH: Target at Closing: 7.2-7.6; Why It Matters Over Winter: Low end of the normal range resists the upward pH creep that happens under a sealed cover
- Calcium hardness: Target at Closing: 200-400 ppm; Why It Matters Over Winter: Low calcium pulls minerals from plaster and grout all winter; high calcium scales equipment
- Cyanuric acid: Target at Closing: 30-50 ppm; Why It Matters Over Winter: Doesn’t need adjusting for winter specifically, but confirm it’s in range before closing
Step 2: Shock and Add Winter Algaecide
A closing shock dose is higher than a routine maintenance shock because it needs to hold the pool through months without circulation or sunlight-driven chlorine loss. Add a full winterizing shock dose per your pool’s gallonage (see How Much Winter Shock Does Your Pool Need? for the exact math), then wait until free chlorine drops back under 4.0 ppm before adding a long-acting winter algaecide.
In my experience the closings that go smoothly are the ones where this step happens 2-3 days before the actual closing, not the same day. That gap gives the shock time to burn off before the pool is sealed under a cover, which prevents the bleaching and fading heavy chlorine causes to cover material and liner.
Step 3: Clean and Handle the Filter
- Sand filters: Backwash thoroughly. In freezing climates, drain the tank and remove the drain plug so water can’t sit and freeze inside.
- Cartridge filters: Remove, hose down, and soak overnight in filter cleaner. Store cartridges indoors over winter regardless of climate.
- DE filters: Backwash, then break down the filter fully, hose off the grids, and inspect for tears. Store DE grids dry.
Step 4: Lower the Water Level
Inground pools: lower the water level below the skimmer (typically 4-6 inches below the tile line, or below the skimmer mouth entirely) so freezing water in the skimmer line doesn’t crack the housing. Don’t drain further than that.
Skip it if you’re tempted to drain the pool further to “make it easier.” I’ve seen this go wrong more than almost anything else on this list. An empty or mostly drained inground pool risks structural problems from groundwater pressure pushing up on an empty shell, and vinyl liners can shrink and wrinkle.
Step 5: Blow Out and Plug the Plumbing (Inground Only)
Using a shop vac or a dedicated blower, force air through each return line and the skimmer line until water stops bubbling out at the pad, then plug each line with a winterizing plug while air pressure is still on it. This is genuinely a two-person job. Any water left in a line that freezes and expands will crack PVC pipe, and that repair means digging up decking in the spring.
Step 6: Add Plumbing Antifreeze Where Needed
For any line or component that can’t be fully blown dry, add pool-specific, non-toxic RV/pool antifreeze (propylene glycol based, not automotive antifreeze, which is toxic and not rated for this use).
Step 7: Install the Winter Cover
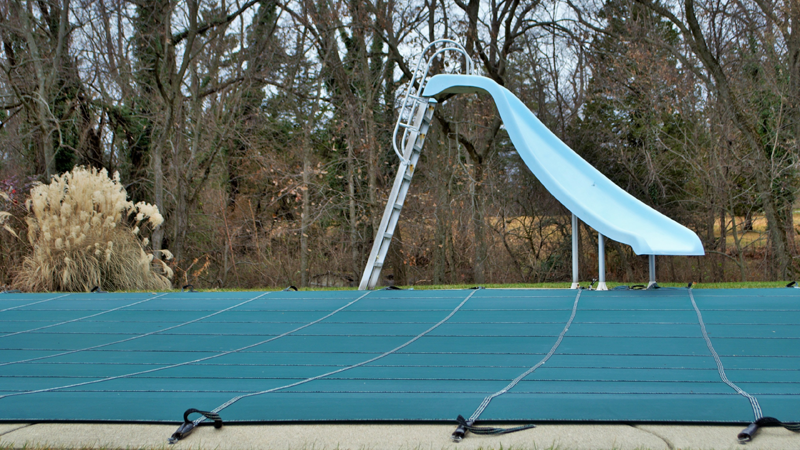
A properly fitted and secured winter cover is the difference between a pool that opens with a quick skim in spring and one that needs a full green-to-clean treatment. See my Winter Pool Cover Buying Guide for choosing between safety, solar, and mesh covers.
Above-Ground vs. Inground Closing: Key Differences
- Plumbing: Above-Ground: No in-ground lines; disconnect and store any hoses; Inground: Full blowout and plug required for every line
- Water level: Above-Ground: Lower a few inches below skimmer; Inground: Lower below skimmer mouth, never fully drain
- Air pillow: Above-Ground: Required to absorb ice expansion against the liner wall; Inground: Not typically used
- Structural risk: Above-Ground: Liner wrinkling/damage from improper water level or ice pressure; Inground: Hydrostatic pressure risk if over-drained; skimmer/plumbing freeze cracks if not blown out
Best for: Pool owners comfortable with basic tools who want to save the $150-400 a pro typically charges for a standard closing.
Skip it if: Your pool has a heater or complex equipment pad you’ve never worked on before, or you’re not confident you can fully blow out every line. A missed line is the single costliest mistake on this list, and a professional closing is cheap insurance against a spring repiping job.
Next Steps
Order your closing supplies before the September rush thins out inventory on the specific plug sizes and cover dimensions you need. Doheny’s carries complete closing kits sized by pool gallonage, including winterizing shock, winter algaecide, plugs, antifreeze, and cover accessories, with free shipping on orders over $50. Shop Doheny’s pool closing supplies, or read my full inground closing walkthrough if you want the plumbing steps in more detail.
Disclaimer: This is general guidance based on my own experience closing pools. Always shut off power to equipment at the breaker before draining or disconnecting it, follow your product labels for exact chemical dosing, and consult a pool professional if you’re not confident about any step involving plumbing or electrical equipment.
Frequently Asked Questions
- Q: How do you close and winterize a pool?
A: Balance the water first (TA 80-120 ppm, pH 7.2-7.6, calcium hardness 200-400 ppm), add a winterizing shock dose and algaecide, clean and handle the filter, lower the water level below the skimmer, blow out and plug all plumbing lines, add antifreeze where lines can’t be fully drained, and install the winter cover. Inground closings take 2-4 hours; above-ground closings take 1-2 hours. - Q: Can I fully drain my inground pool for winter?
A: No. Fully draining an inground pool risks the shell popping out of the ground from groundwater pressure and can cause vinyl liner shrinkage. Lower the water level below the skimmer mouth only, never further, unless a pool professional has specifically advised a full drain for your site conditions. - Q: Do above-ground pools need their plumbing blown out for winter?
A: Most above-ground pools don’t have in-ground plumbing lines. Disconnect and fully drain any filter hoses and store them indoors. An air pillow should be added to absorb ice expansion against the pool wall. - Q: How long before closing should I shock the pool?
A: Shock 2-3 days before the actual closing date so free chlorine has time to drop back under 4.0 ppm before algaecide is added and the cover goes on. Shocking the same day you close can bleach cover material and liners.